Creating Provisioning Profile
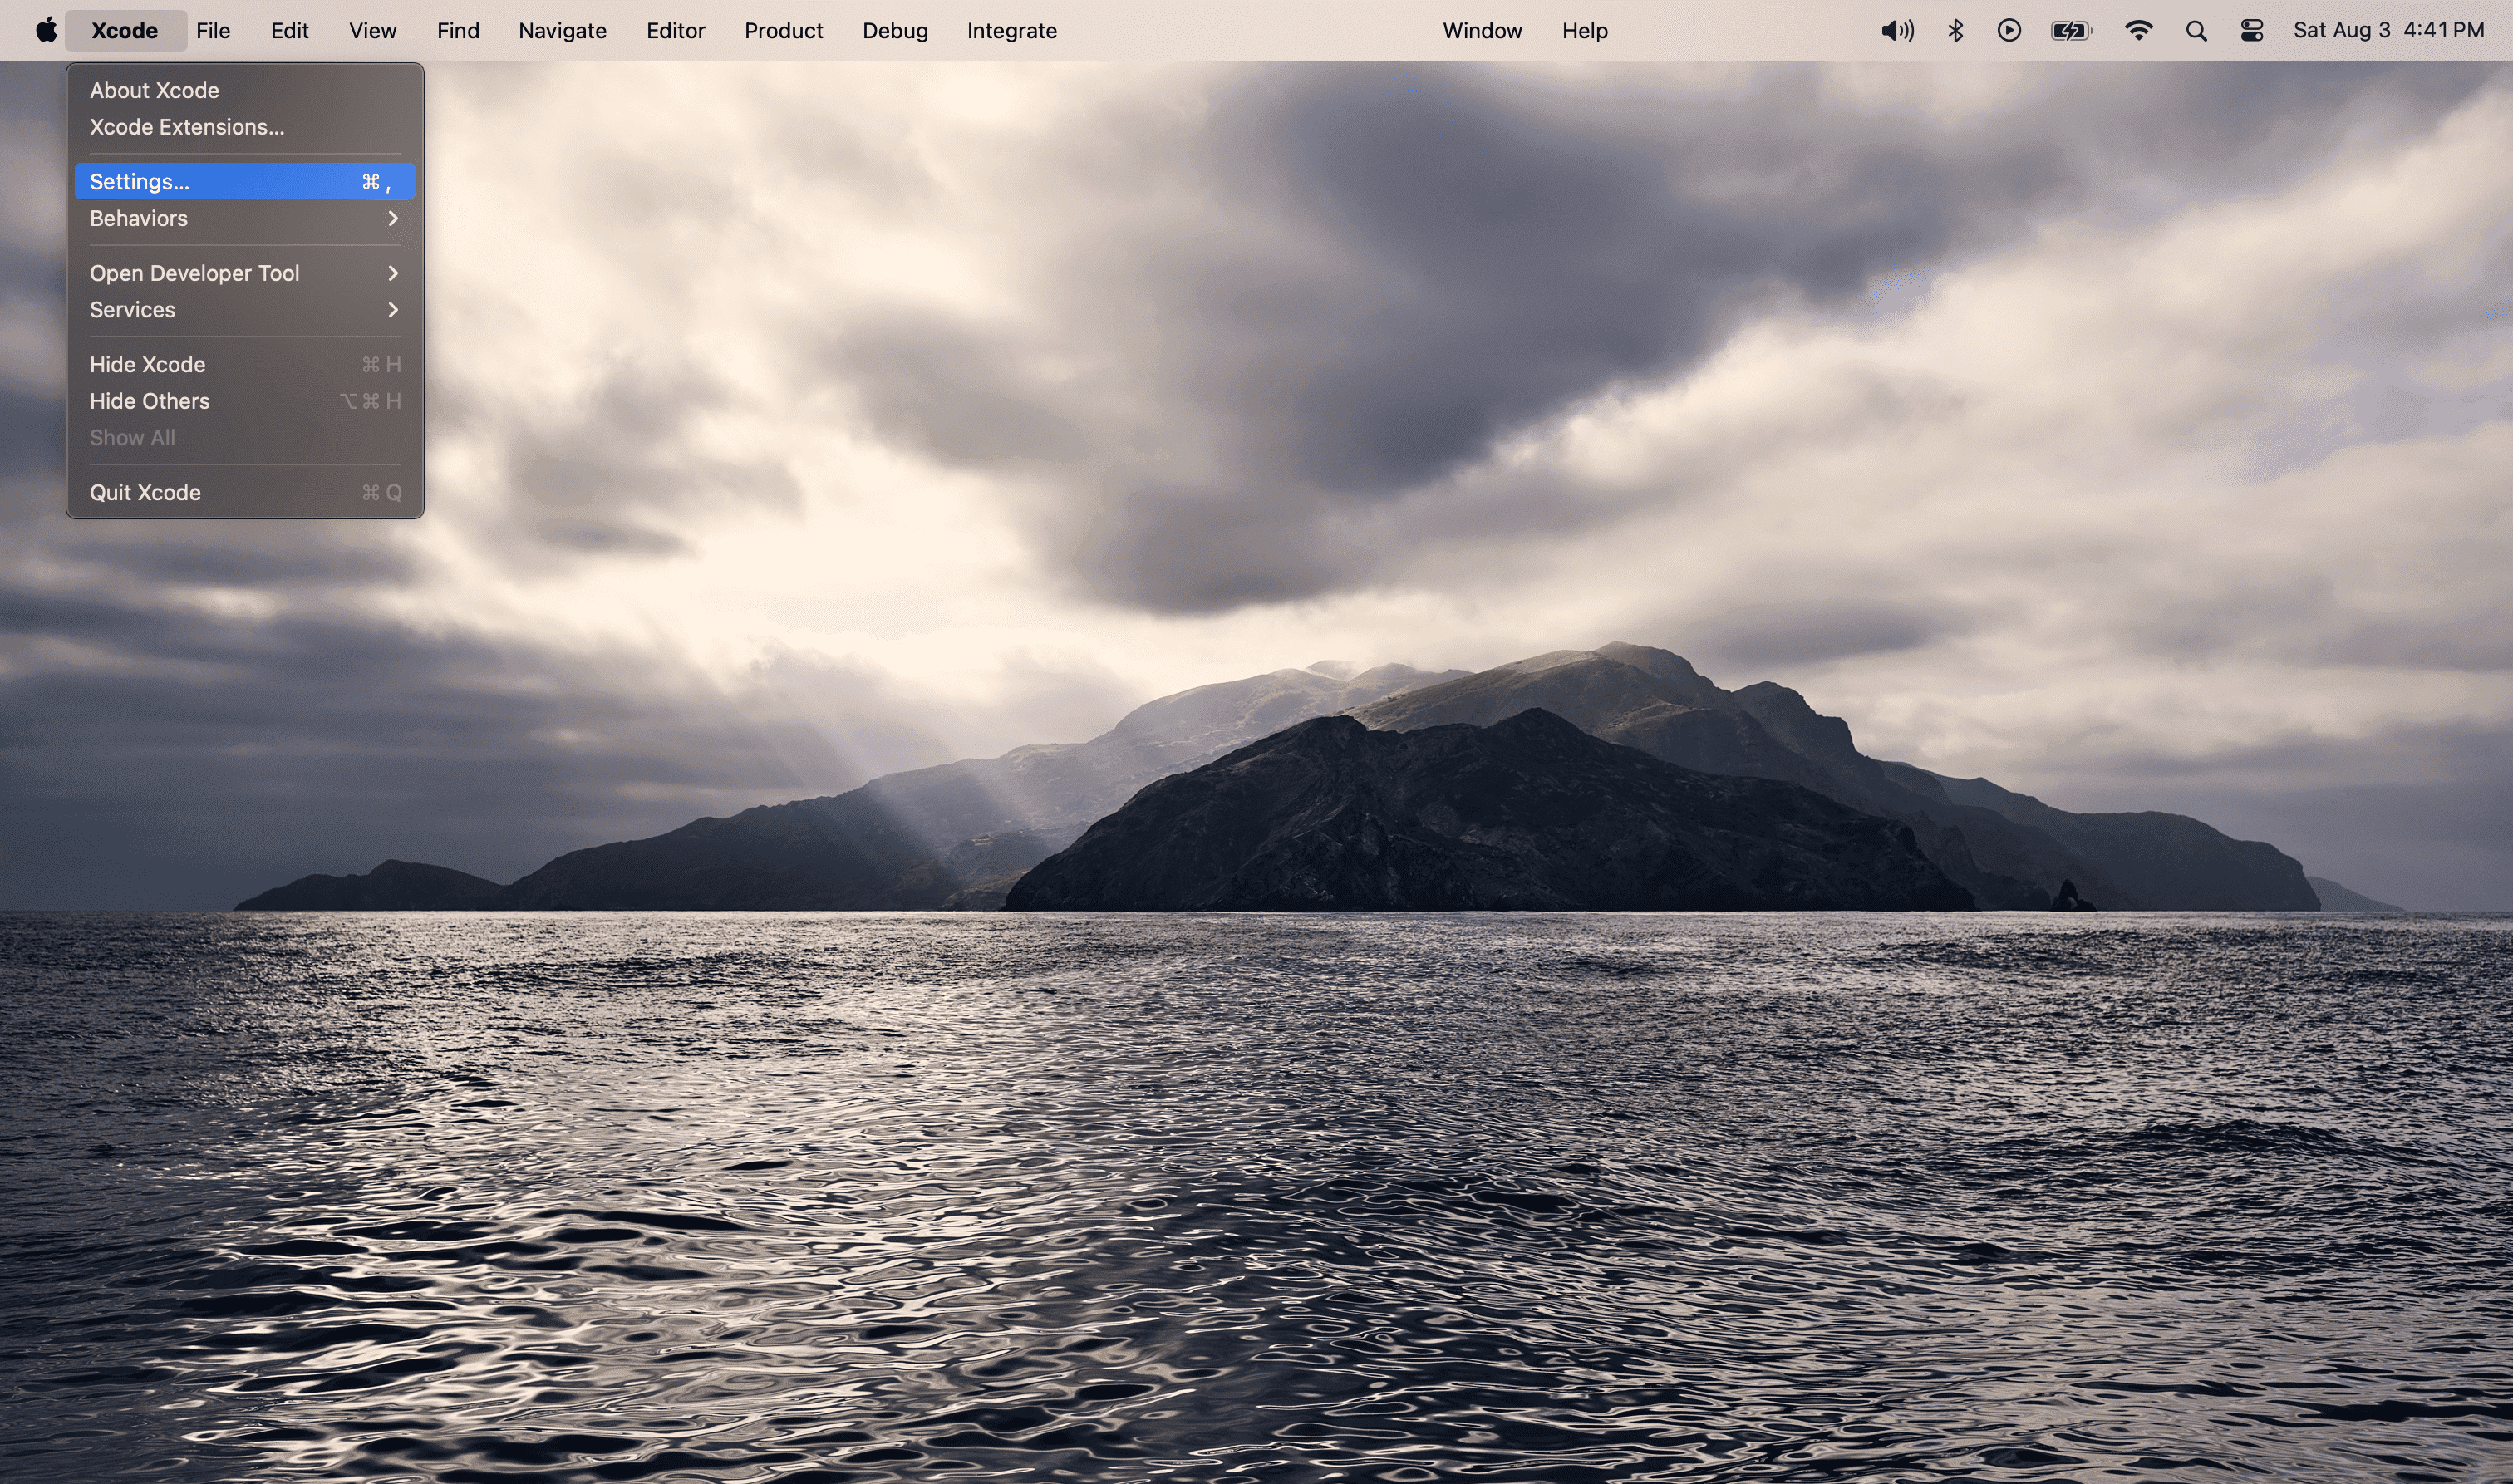
Open Xcode and sign in with your Apple ID.
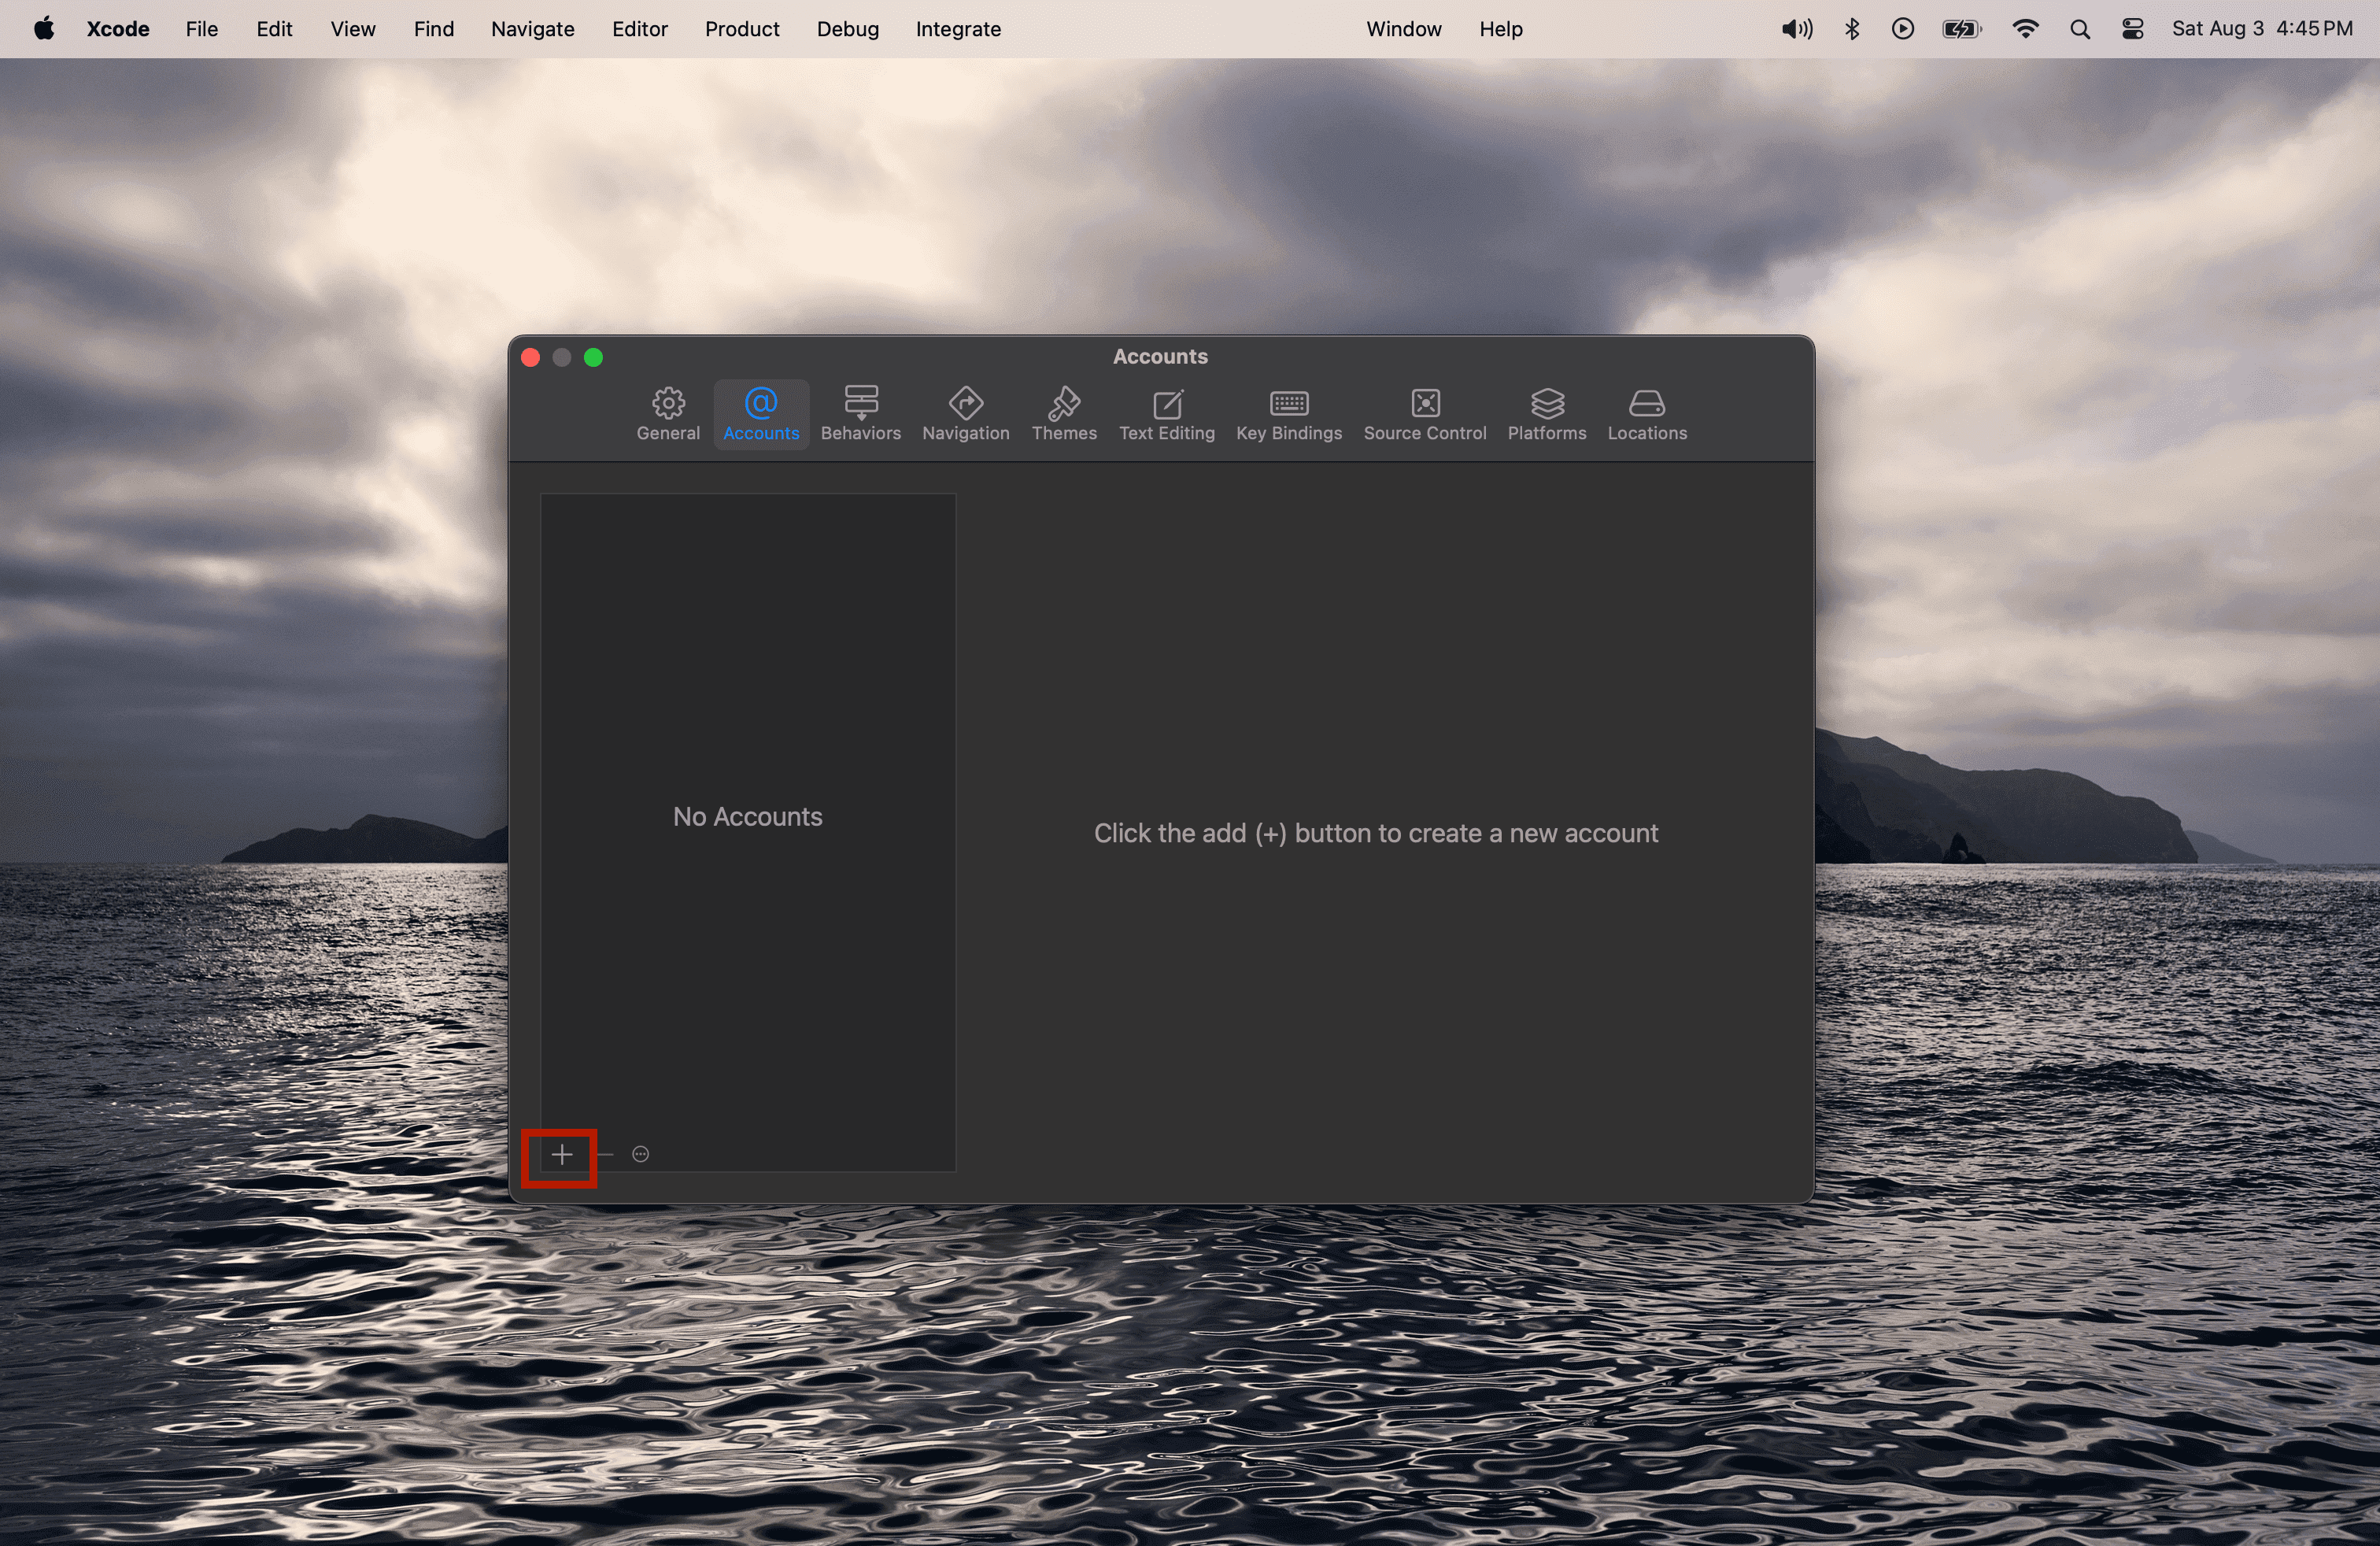
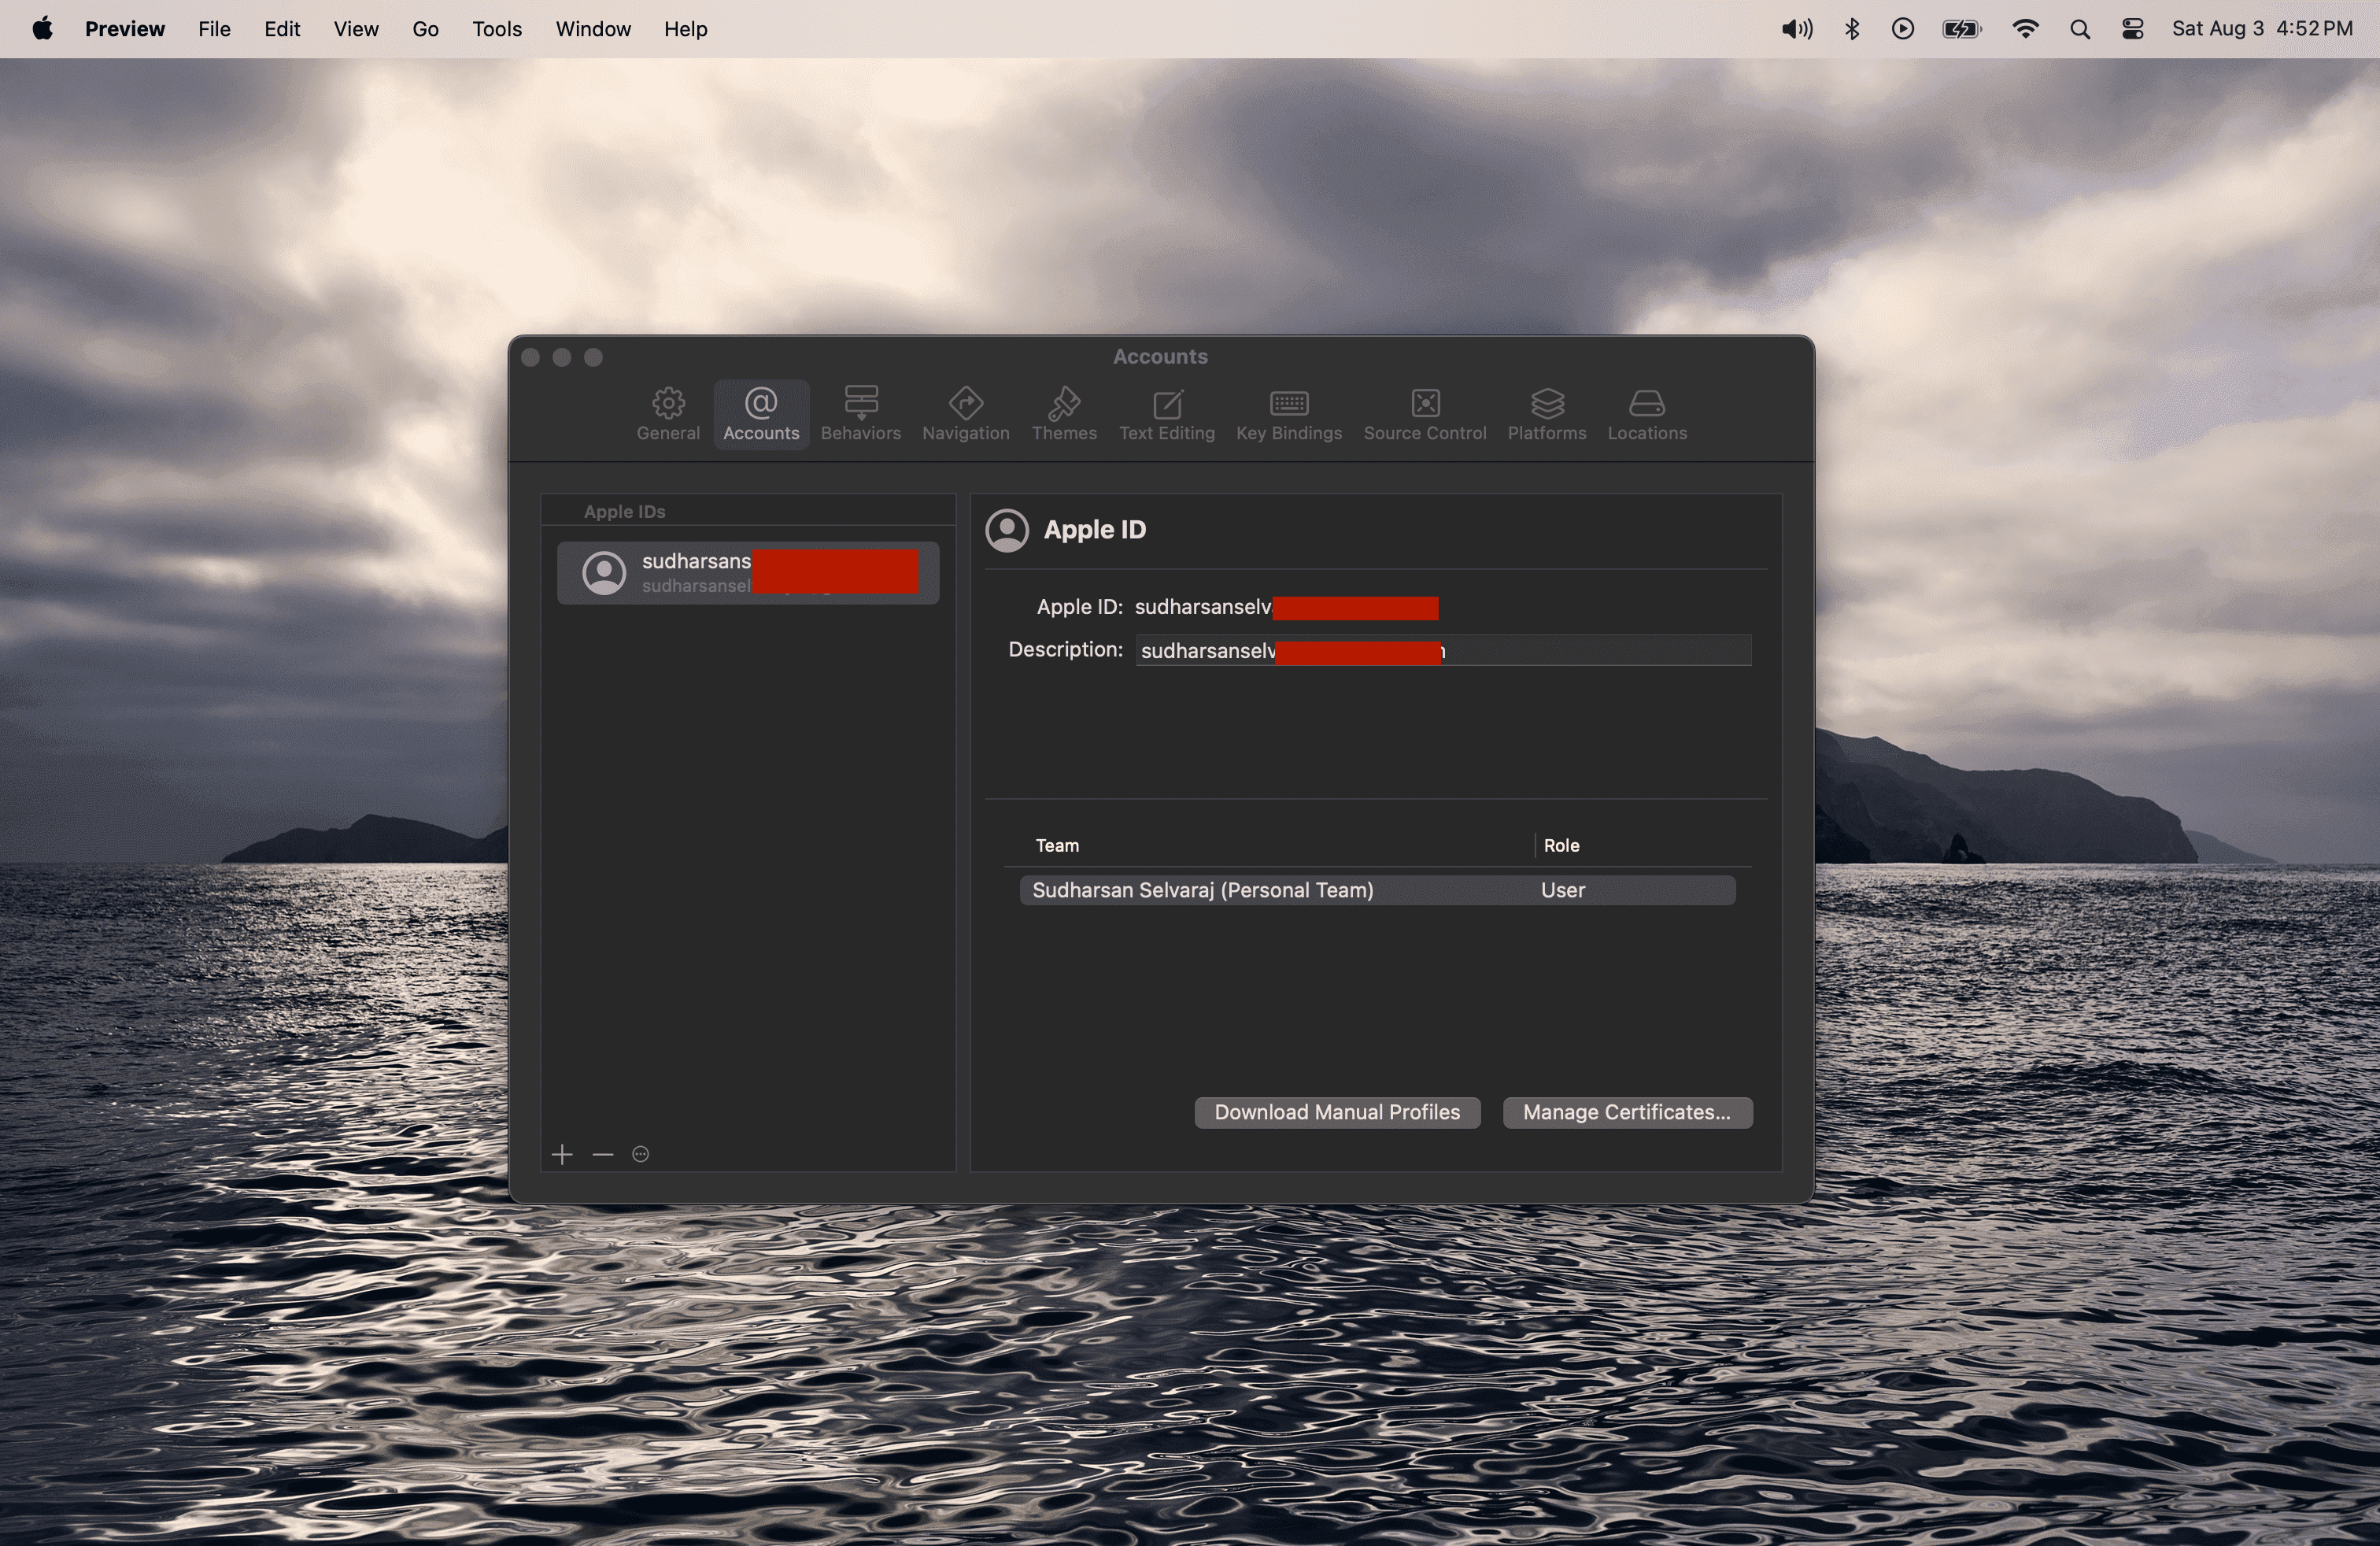
click the + icon to add a new account
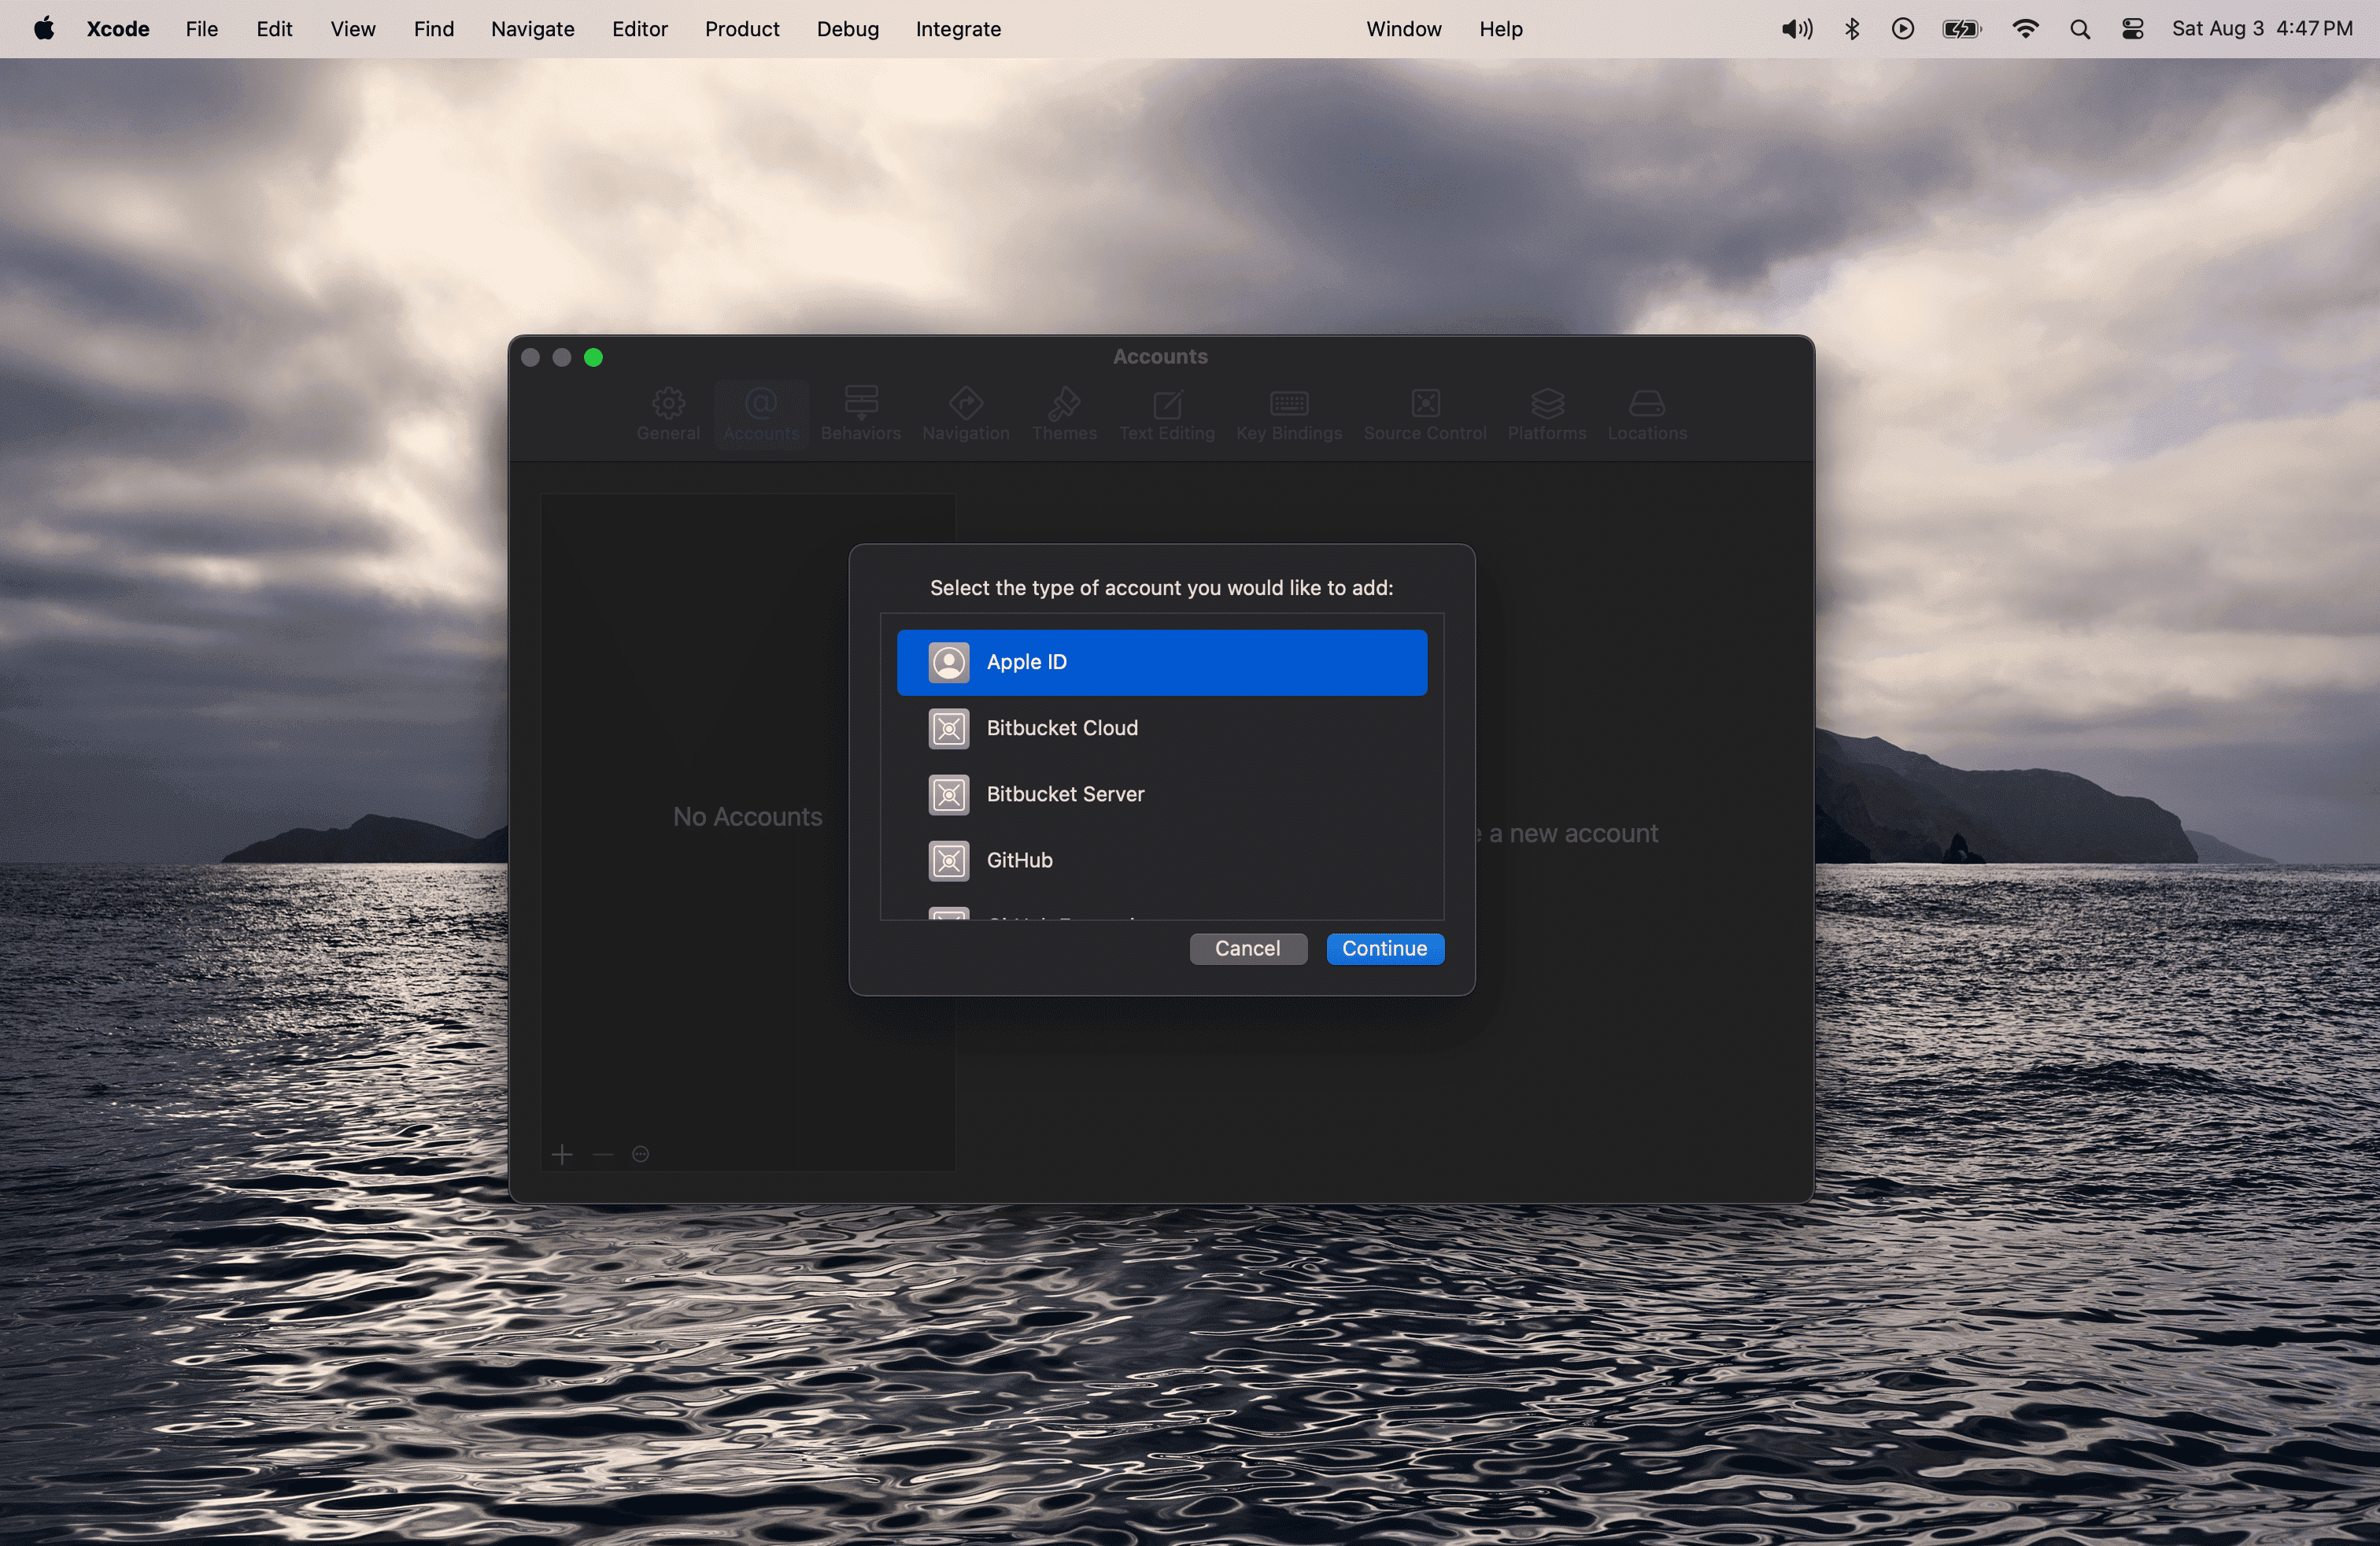
Select Apple ID from the options and click Continue
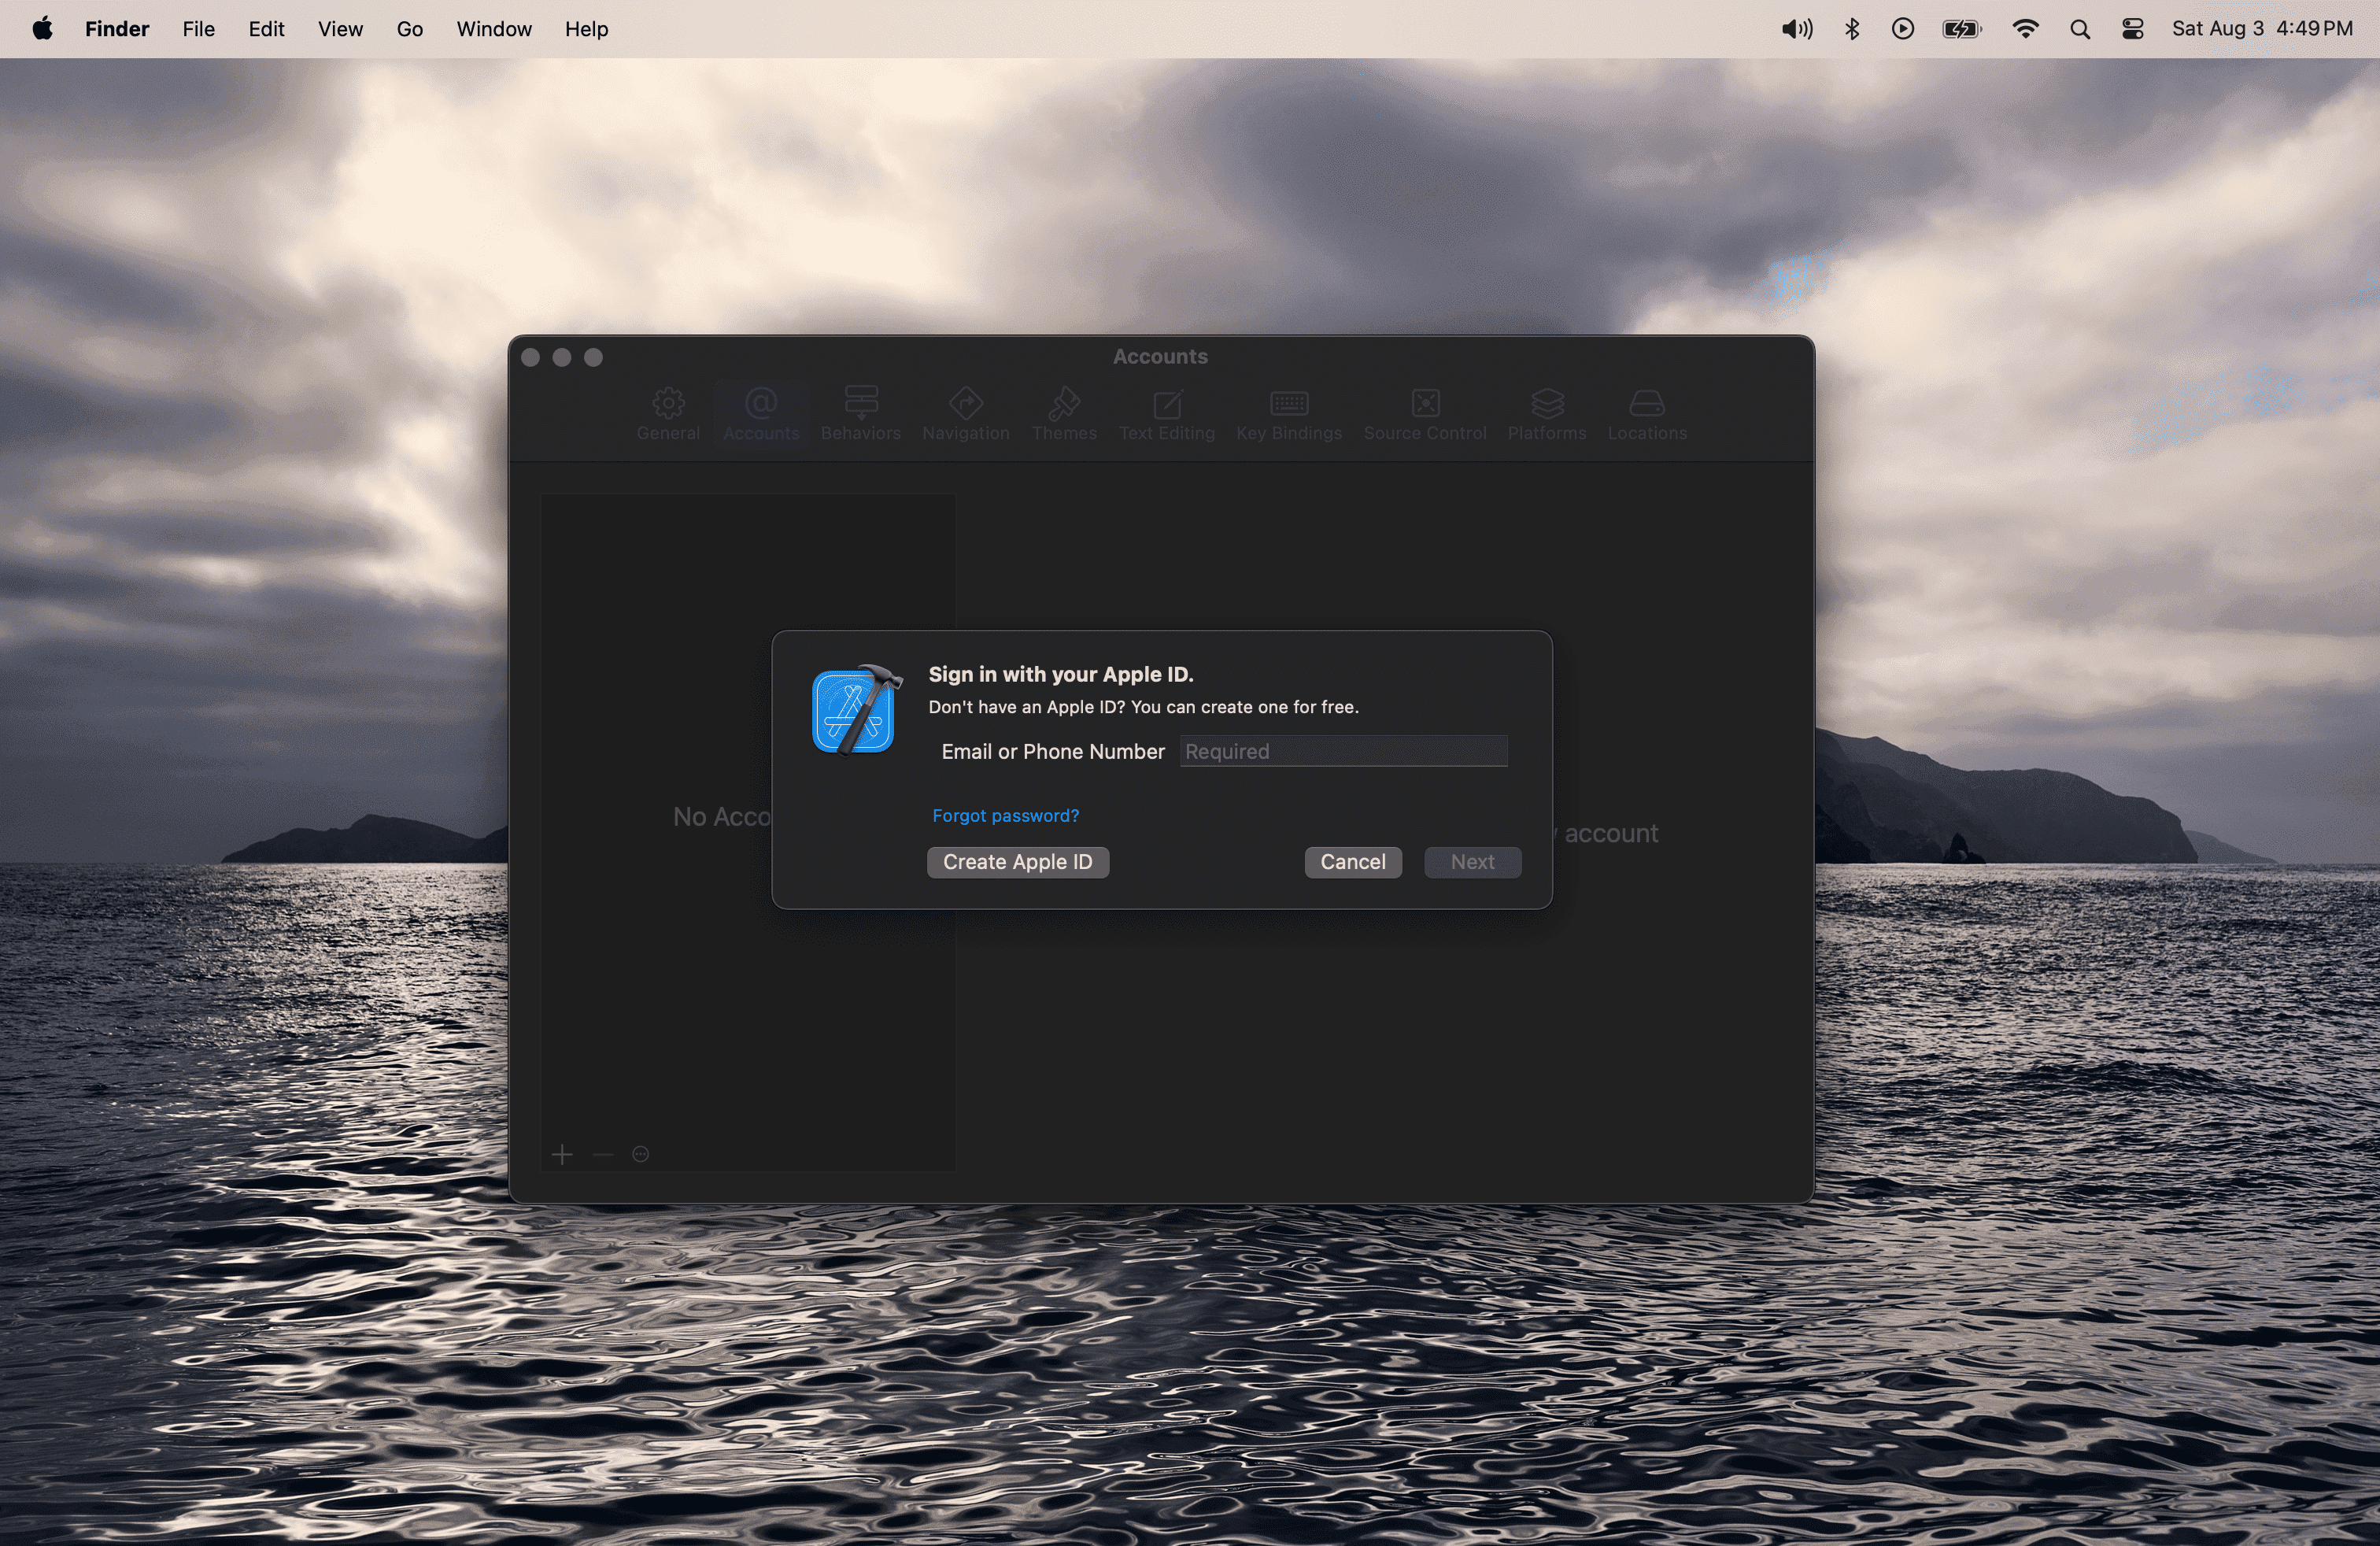
Log in with your existing Apple ID or click Create Apple ID to create a new Apple account.
Once logged in successfully, you should see your account added to the account list.
Now, create the provisioning profile for re-signing the WDA. Open Xcode > File > New > Project.
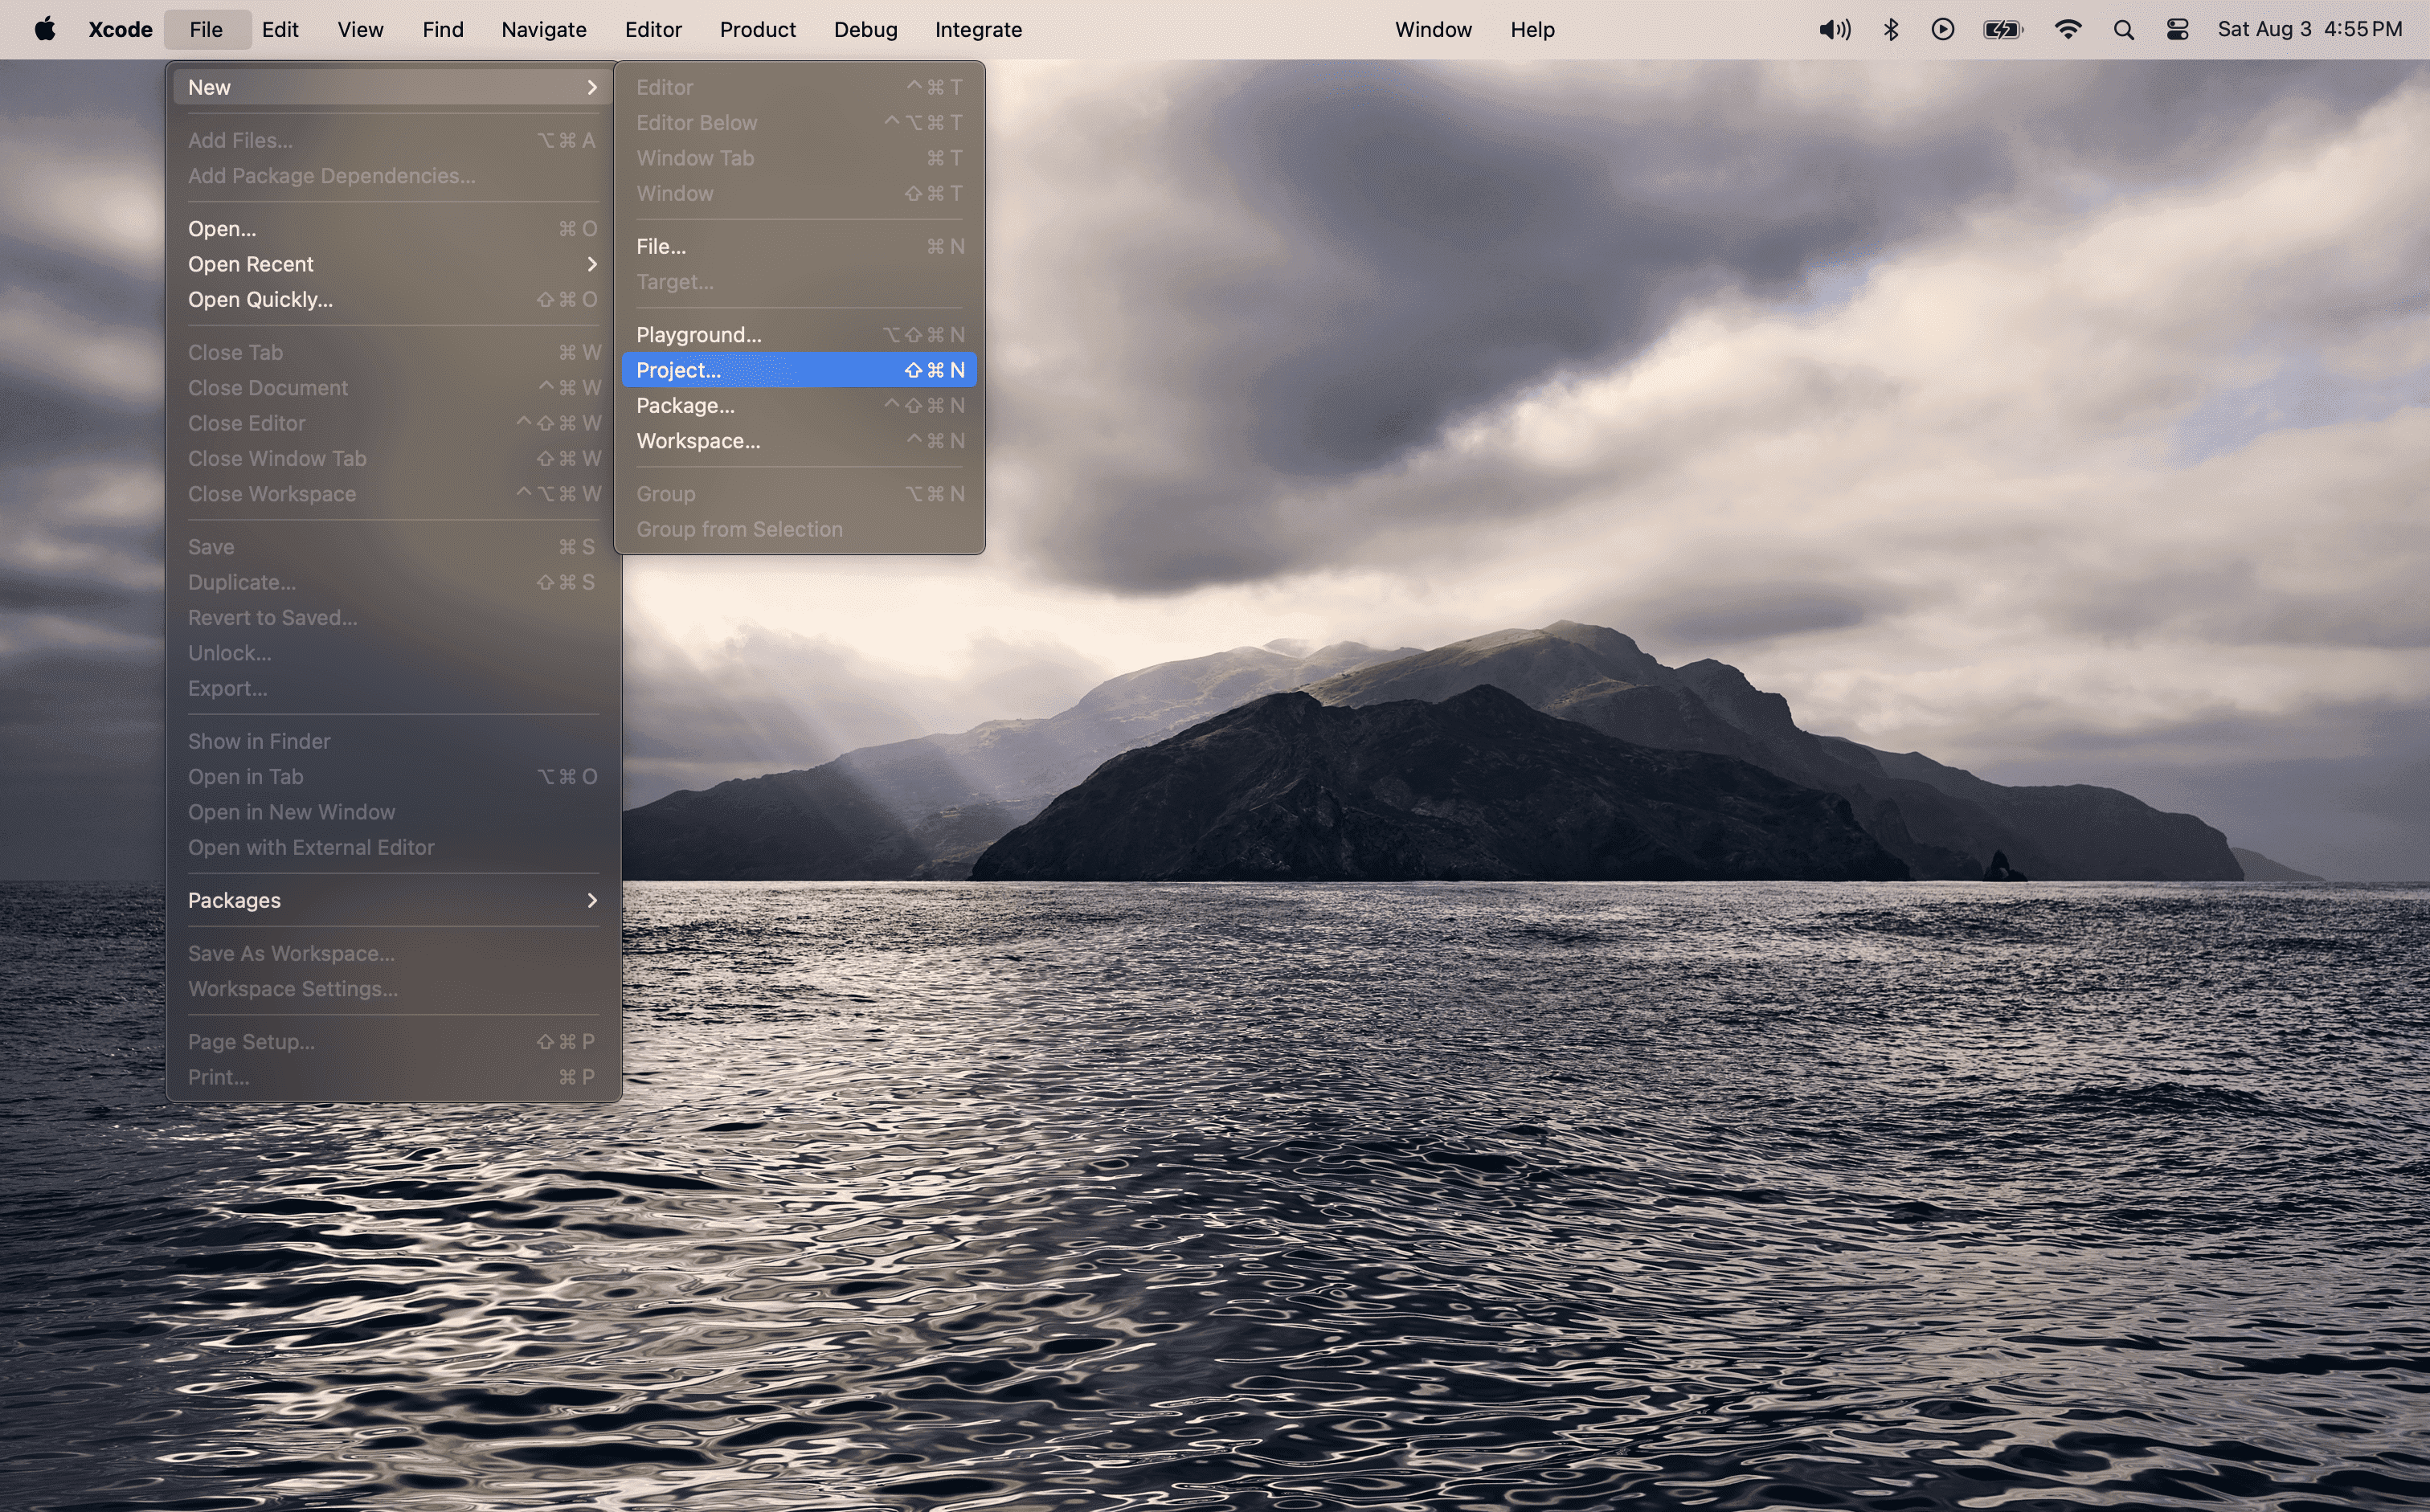
Select any app type from the list. Choosing App is recommended for simplicity.

Enter a Project Name and a valid Organization Identifier. It can be any value, but ensure it is unique. Select the Apple account you logged in with from the Team dropdown. After entering the details, click Next and choose a folder to create the project.

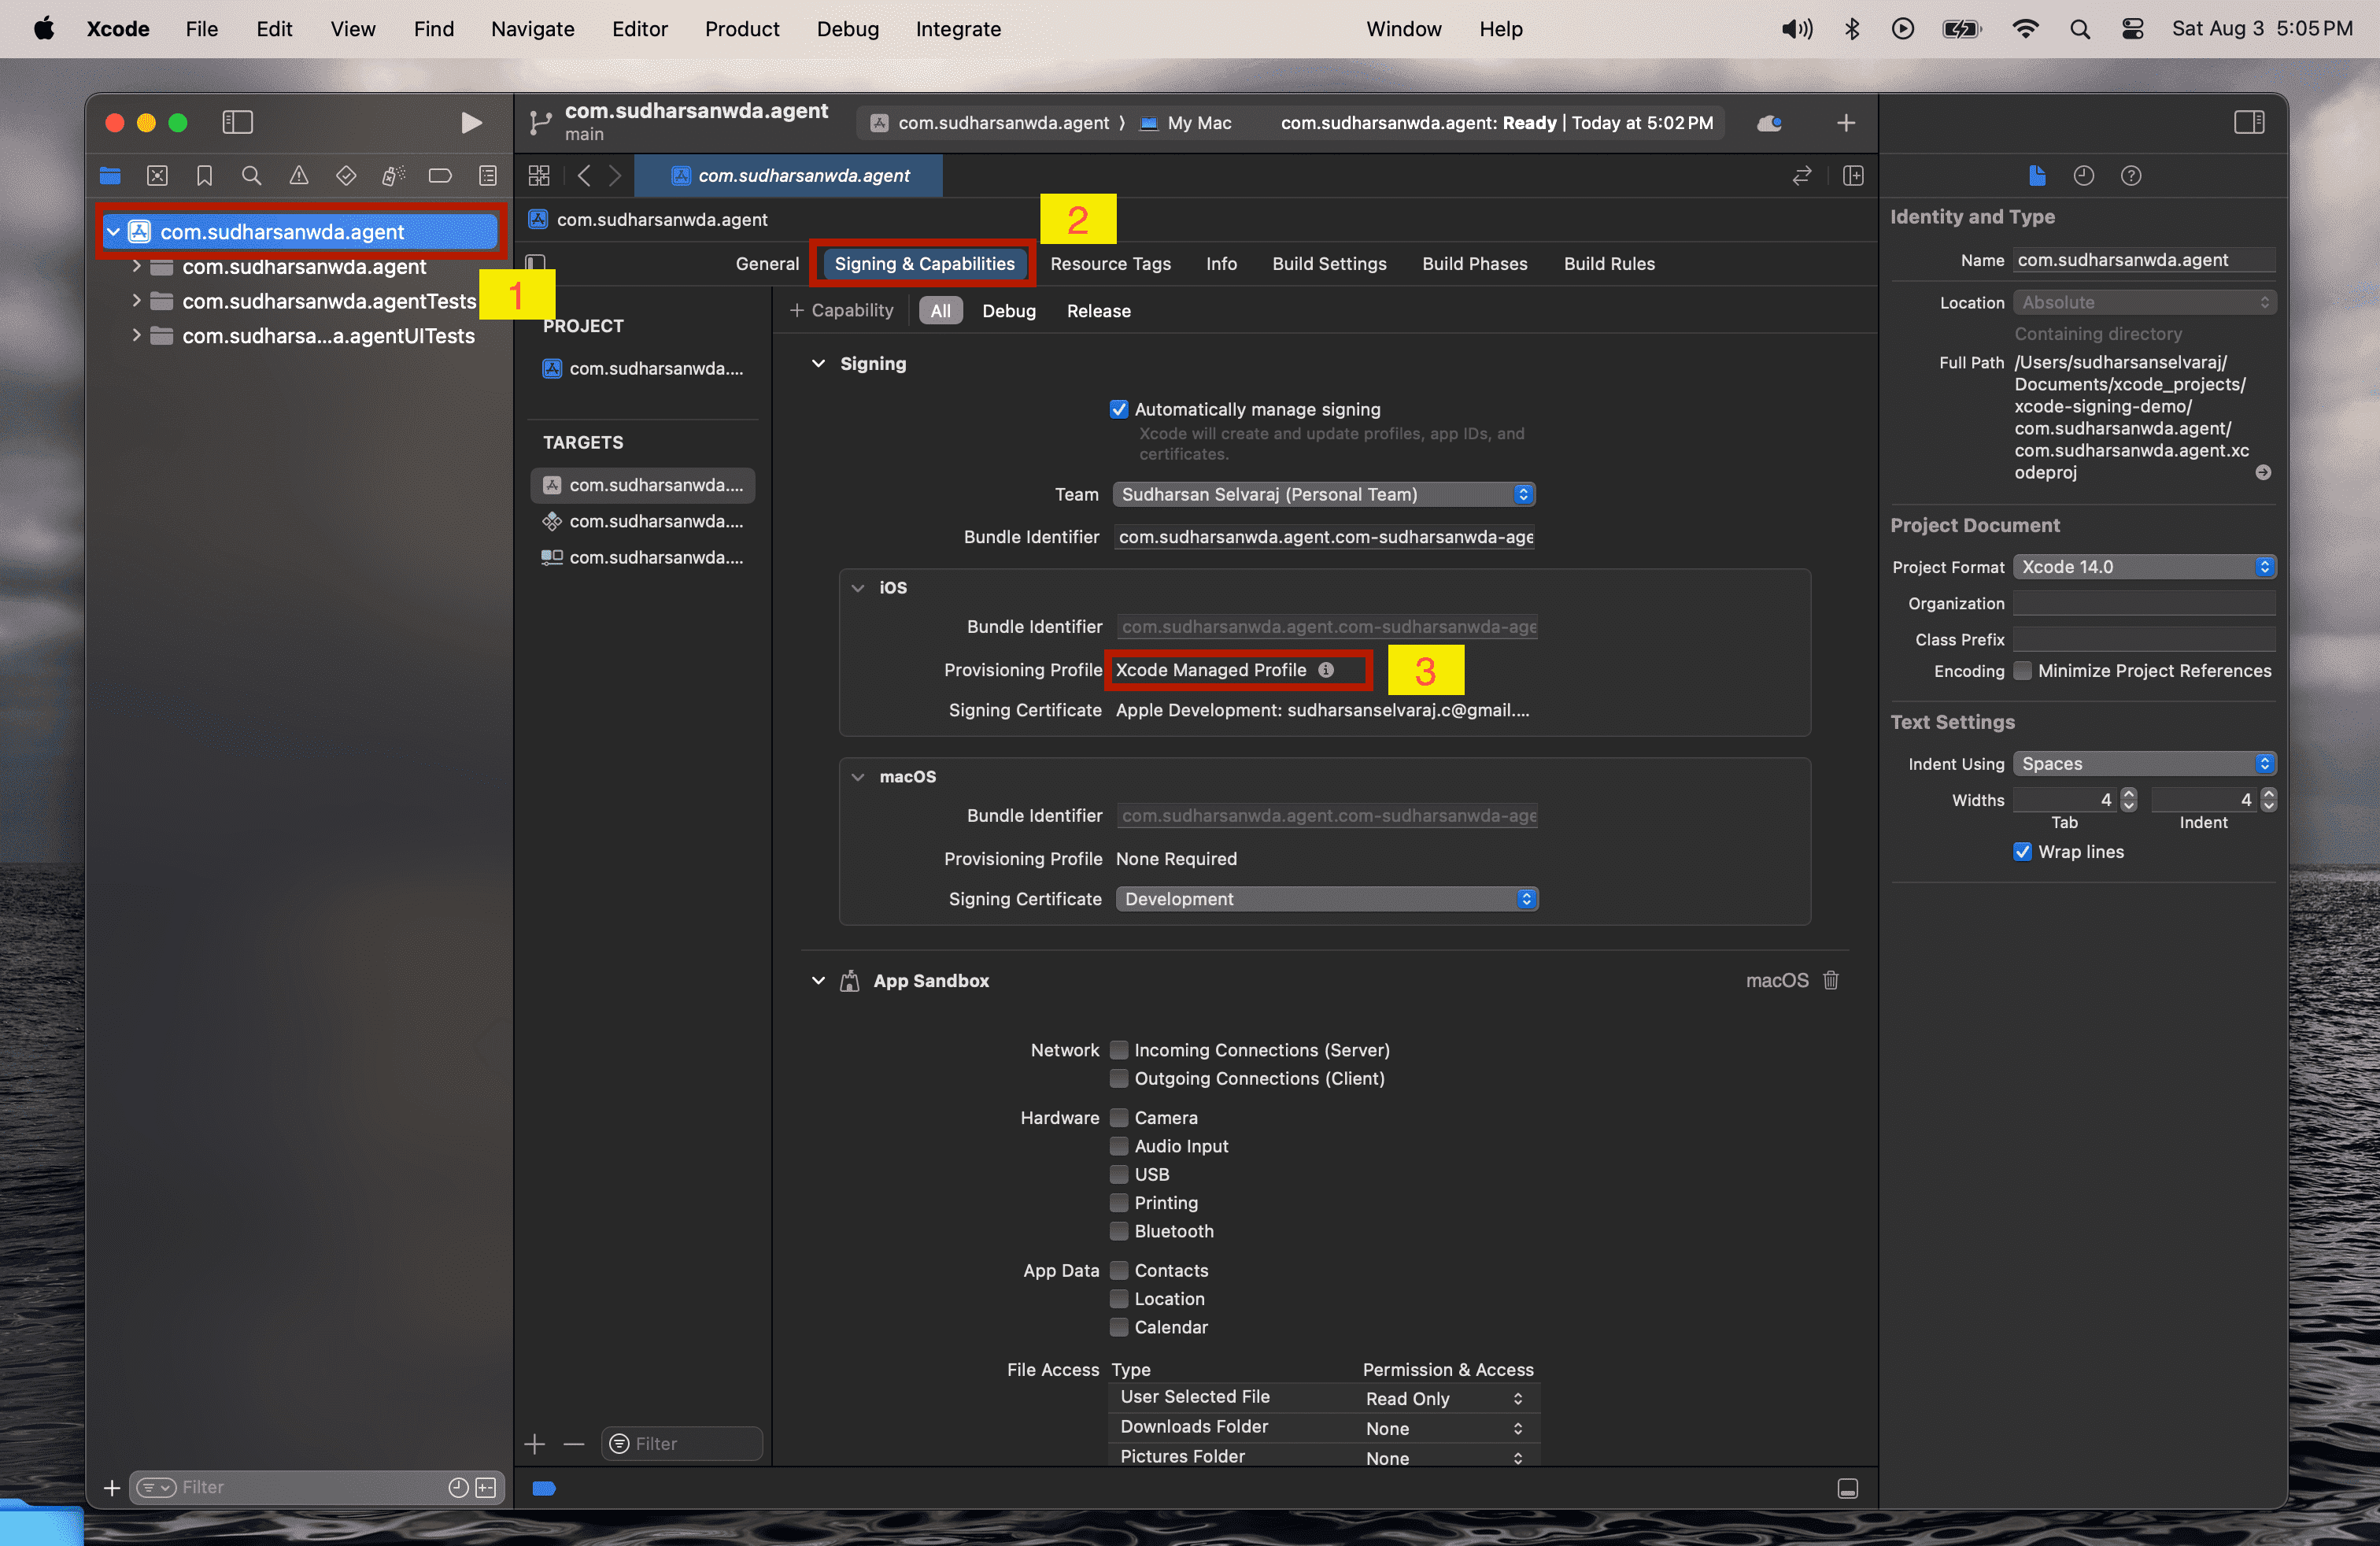
Once the project is created, click on the Project Name in the left pane and select the Signing & Capabilities tab. You should see Xcode Managed Profile listed under Provisioning Profile.
You can also check if the provisioning profile is created in the ~/Library/MobileDevice/Provisioning Profiles directory. Once the provisioning profile is present, you have successfully created it and can now use it to sign the WDA file.